
The lungs are an essential organ for all mammals. Lungs have several features which make them perfect for exchanging gases.
- a very large surface area, thanks to a network of small tubes and tiny air sacs called alveoli.
- they are moist
- and have a good blood supply
Today, we’re going to find out how lungs work by making a lung model.
The lungs are part of our breathing system, which has two functions:
- ventilation – the movement of air into and out of the lungs
- gas exchange – gases are exchanged between tiny sacs called alveoli and the blood.
Under the lungs is the diaphragm, a muscular sheet separating the lungs from the abdomen. The diaphragm moves up and down to increase the space in the chest, like the balloon at the bottom of the model.
To make a model lung you’ll need
- A plastic bottle
- A straw
- An elastic band
- Scissors
- Two balloons
- Play dough
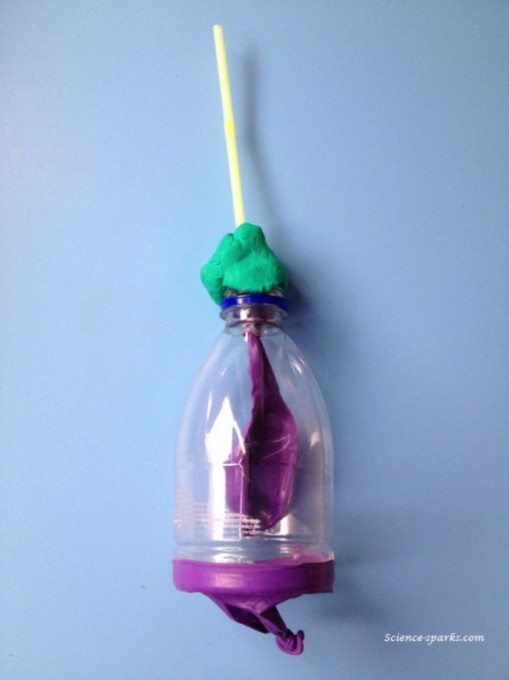
The bottle acts like the chest cavity, the balloon at the bottom is like the diaphragm and the balloon in the centre is like a lung.
Instructions for making a model lung
- Carefully cut the bottle roughly in half. Ask an adult to help. Discard the bottom half.
2. Tie a knot in one end of one balloon and cut off the opposite end.
3. Stretch the balloon around the bottom of your plastic bottle.
4. Place a straw in the neck of the other balloon and secure it tightly with the elastic band but not so much that you crush the straw. The air must flow through, so test it with a little blow through the straw to see if the balloon inflates.
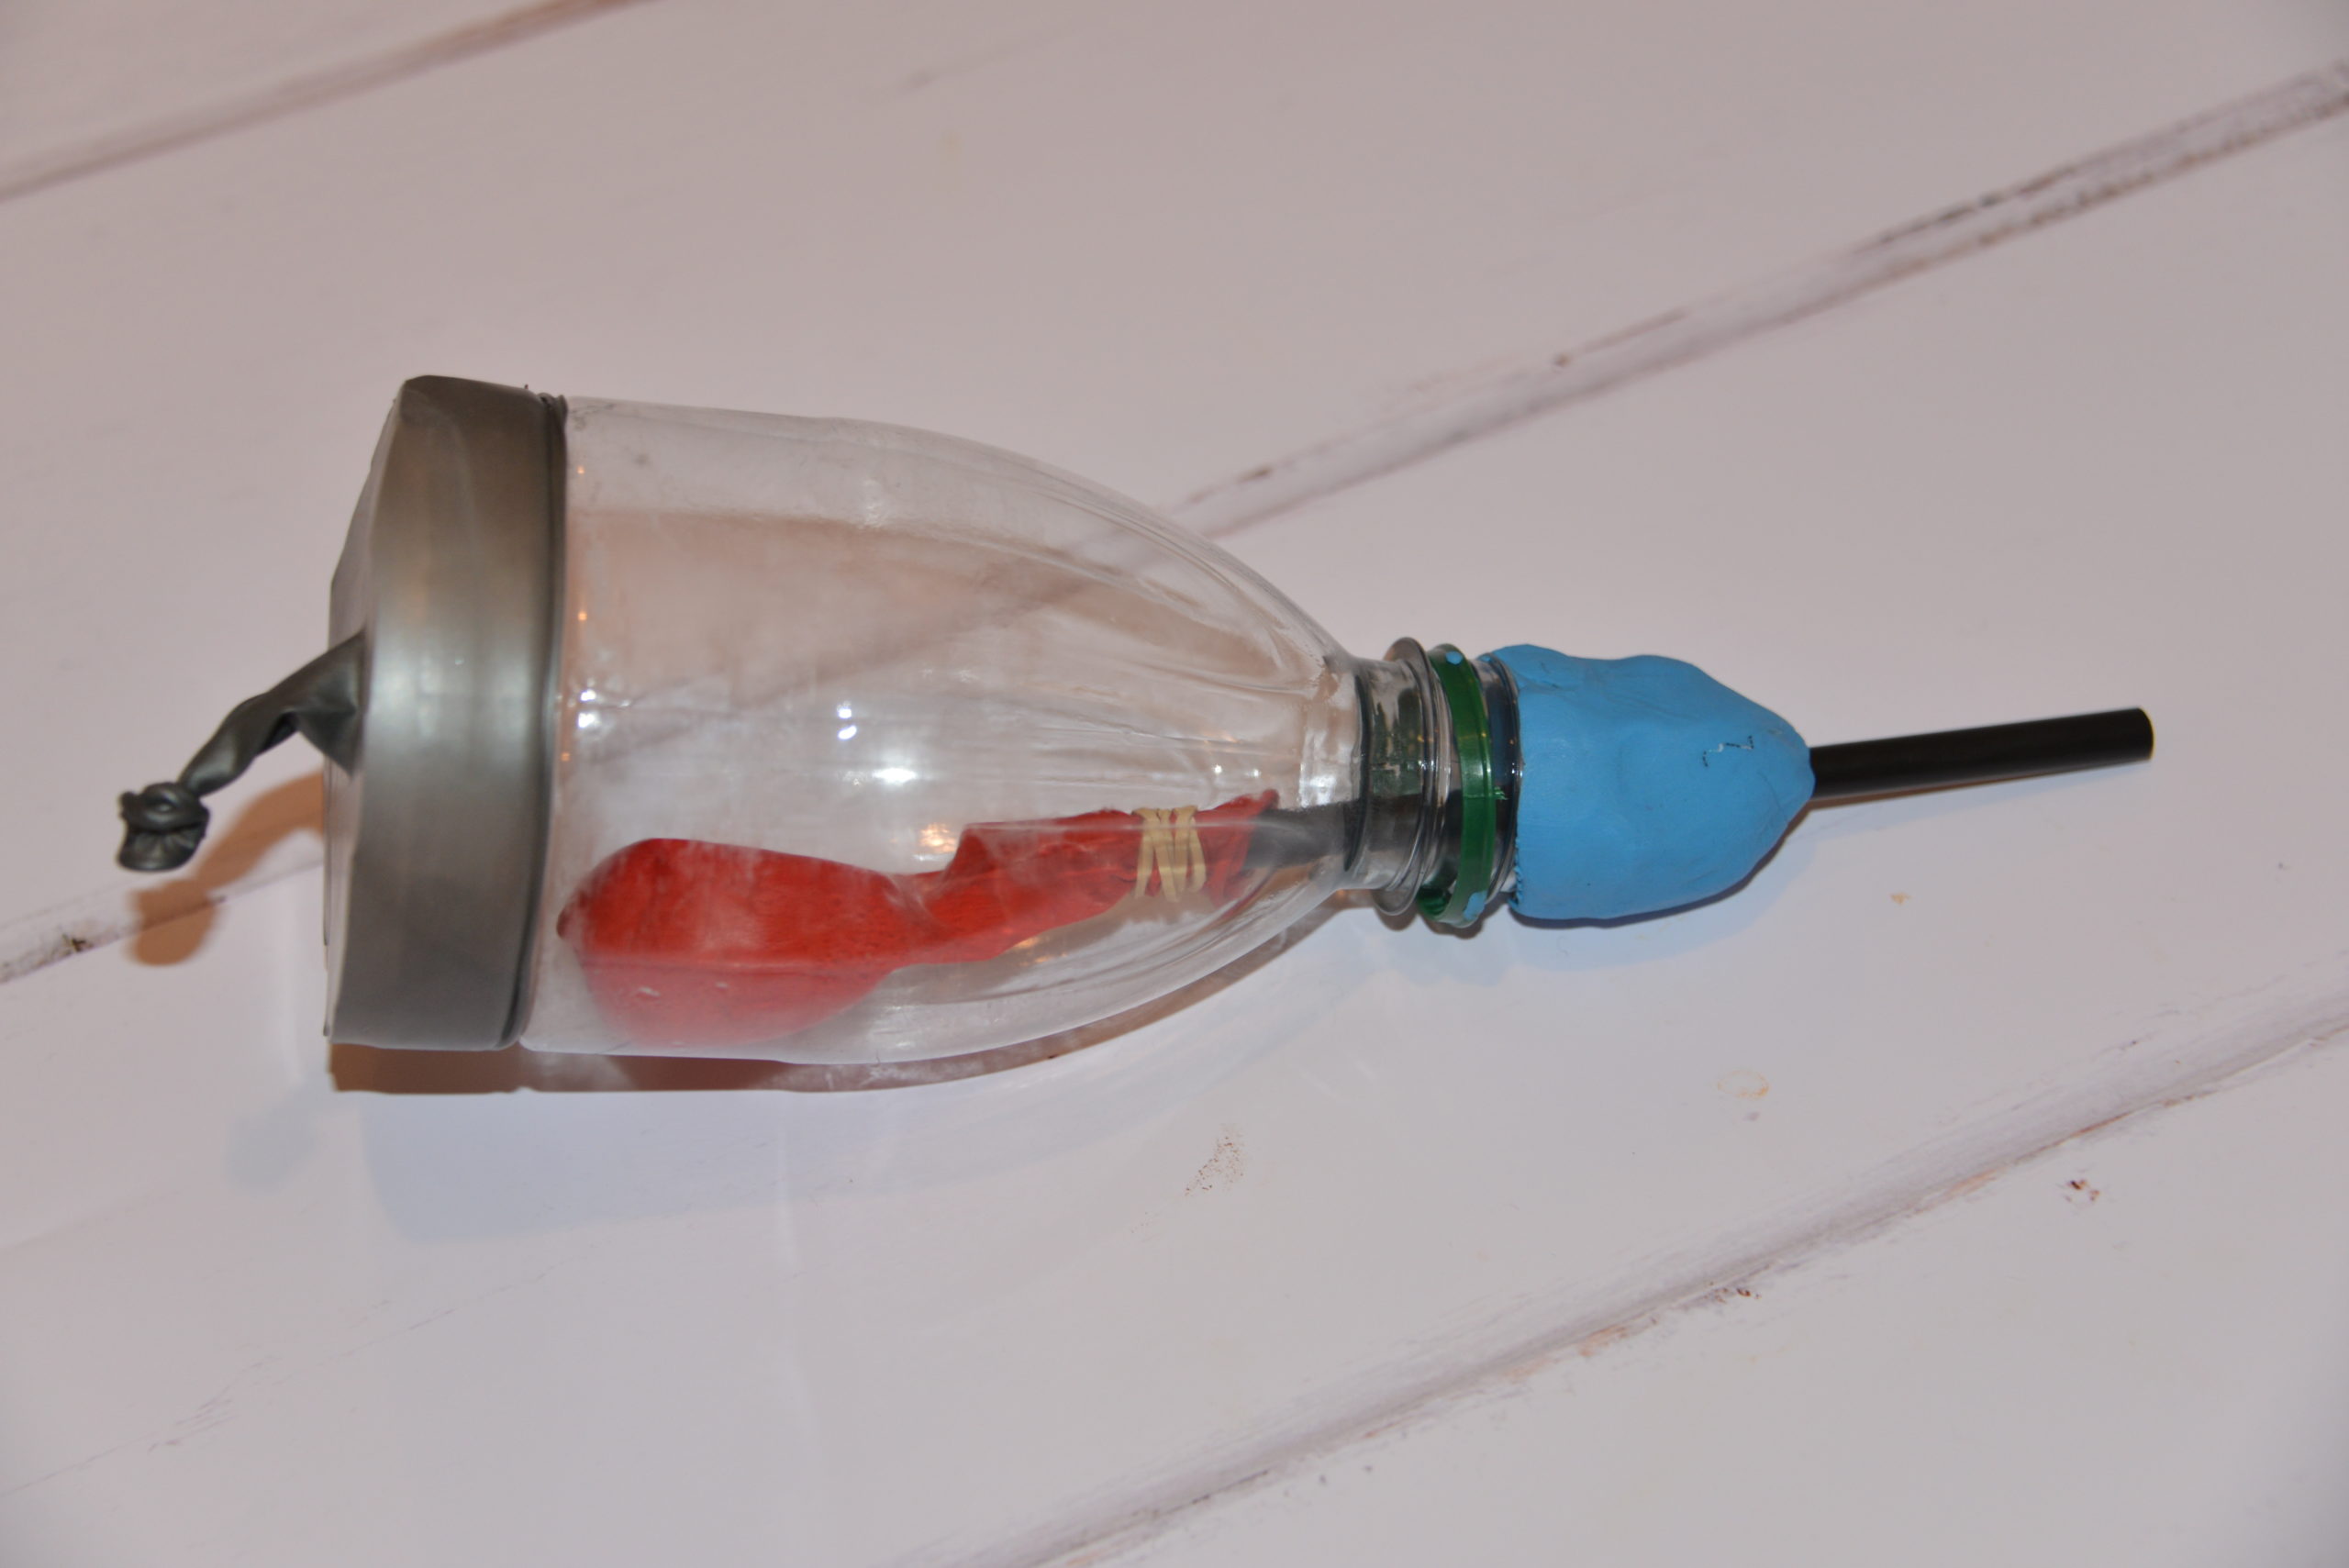
5. Put the straw and the balloon into the neck of the bottle and secure them with the play dough to make a seal around the bottle – make sure that again, you don’t crush the straw, but air can flow through.
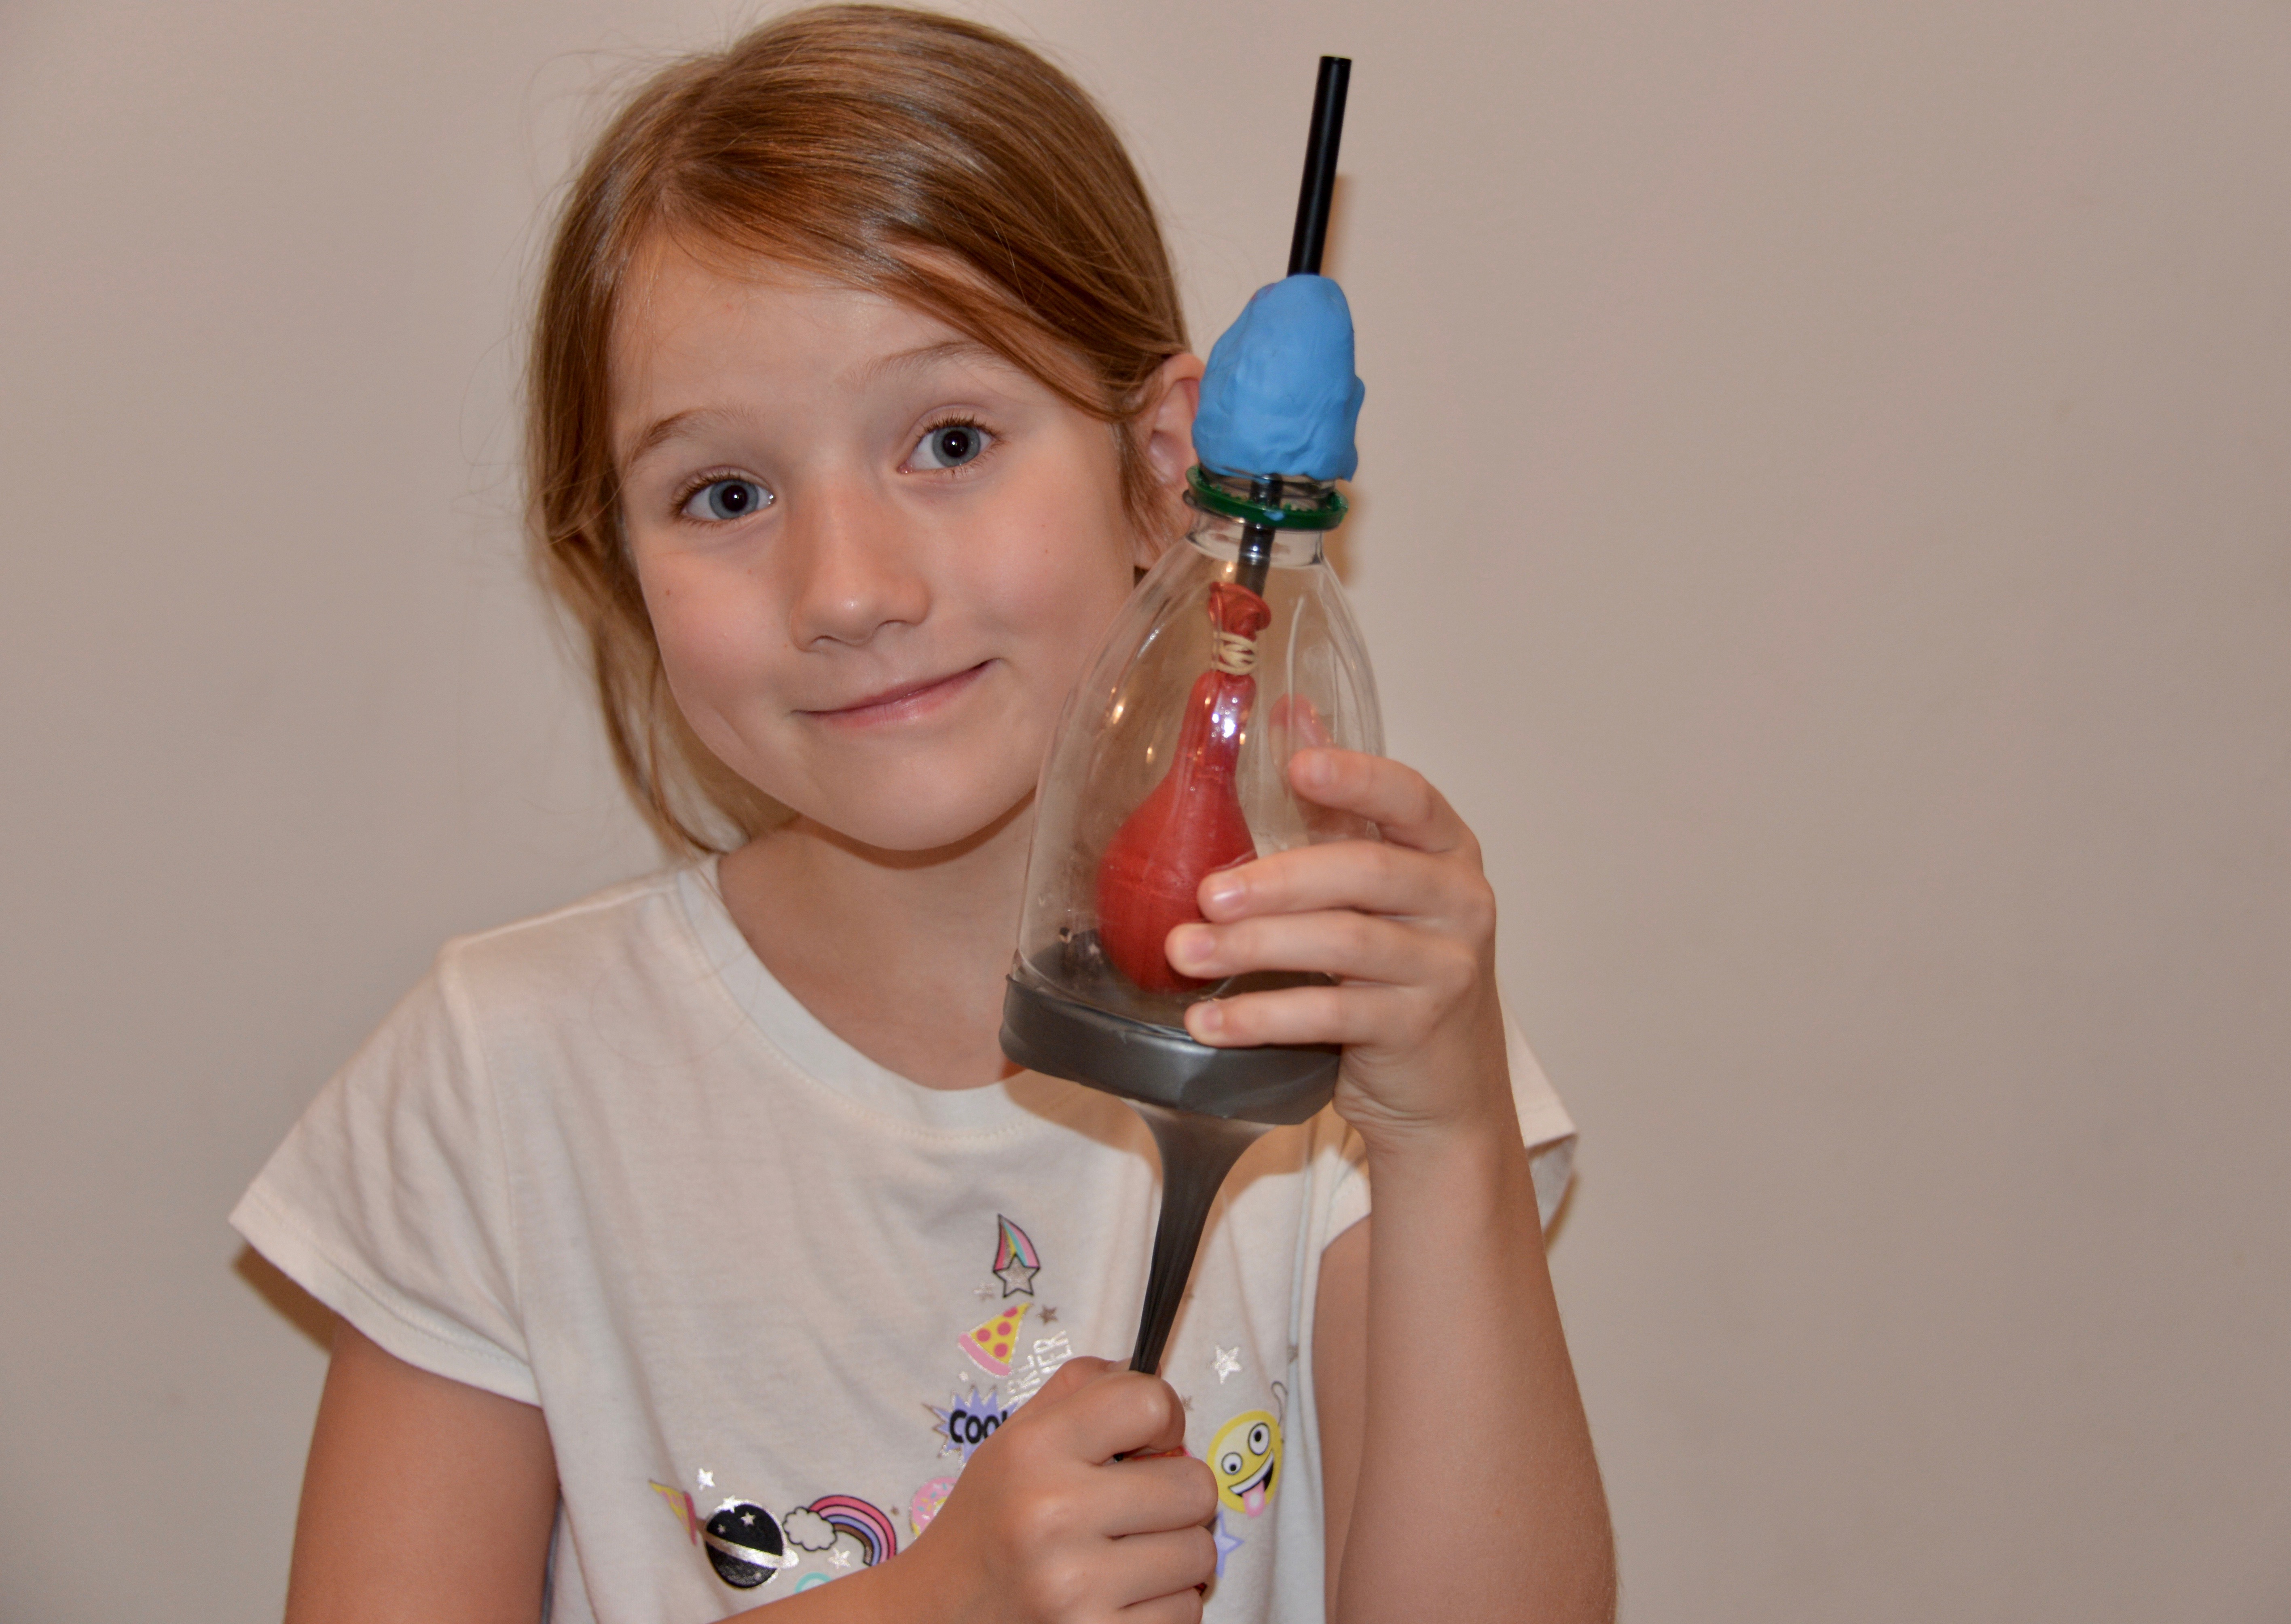
Hold the bottle and pull the knot of the balloon at the bottom. What happens?
You should find that the balloon inside the bottle inflates, and as you let go the balloon deflates.
Why does this happen?
As the knotted balloon is pulled it creates more space inside the bottle. Air then comes down the straw and fills the balloon with air to fill the space! This is like breathing in.
When you let go of the knot the space no longer exists, so the air from the balloon is expelled making it deflate.
Inside the lungs is a network of tubes which allow air to pass through. Air is warmed, moistened and filtered as it travels through the mouth and nasal passages. It then passes through a network of tubes, eventually reaching tiny sacs called alveoli which is where gas exchange occurs.
How do lungs work?
This lung model demonstrates how the lungs work. Air is taken in through the mouth and nose, passes down the windpipe and into the lungs. The diaphragm at the bottom of our chest moves down to create more space. As we breathe out the diaphragm raises again. The knotted balloon represents the diaphragm and the balloon inside the container represents a lung. That’s how lungs work!!

More ideas for learning about the lungs
Create a labelled diagram of the gas exchange system.

Use balloons to make a very simple model of the lungs.

More human body science ideas
Create and build a DNA model from candy
Try this super simple heart rate investigation.
Make your own stethoscope with a cardboard tube, tape and a funnel.
If you liked this post, we’d love you to follow us on Facebook, where we post fun science ideas daily!
If you enjoyed this activity, do check out my other easy science investigations for kids of all ages.
Last Updated on September 17, 2024 by Emma Vanstone


Very cool – even if it does make me feel a bit queasy!
I know how you feel.They could have chose a less effective colour.
yea
I have made this with my oldest son! It’s really neat; I plan to do it with all my kids when we study anatomy!
I’m so glad you liked it!
Very cool. Now to remember this when Bunny is a little older! My “No Time for Flashcards” post is a look at our week of playschool– http://www.notimeforflashcards.com/
What a great demonstration!! Thank you for sharing at Sharing Saturday!! I hope you are having an amazing week!
That is seriously impressive. My get my husband to make one with our 8 yr old.
This is excellent, thank you. My son and I have just started exploring science at home and this site is wonderful. I’m so glad you link up to Sharing Saturday, thank you.
Great way to teach science! Thanks for linking up to Kids Co-op.
So Cool! This is the first time I’ve understood how a lung works. Thank you for giving me my weekly science lesson 🙂 Nominated you for a MAD award, btw. Thanks for sharing on Kids Get Crafty! ~Alissa and Maggy
I am new to your site and really like it! I pinned the how to make a lung idea to my learning ideas board – what a great idea…can be used in so many ways! Thank you!
Thank you for pinning. xx
I just wanted to stop by to tell you that this is so awesome it is being featured this week on the The Sunday Showcase Have a wonderful week-
Aimee & Bern
Thank you so much. xx
This is a great idea! And it would work well to show the effects of smoking too. Use a wide straw (like one from McDonald’s) to fill the lung, then feel the difference in how fast or easily the lung fills using a narrow straw (like a tiny one for stirring coffee). I will for sure be doing this demo with kids! Thanks!
Fab. I’m glad you liked it.
Thanks for sharing this video. This really helped in my school science fair. Thank you so much.
You have to use a very sturdy water bottle for this project. My son and I went through many balloons trying to make it fit over a standard water bottle…..we ended up using a Snapple drink bottle because the plastic is stronger.
This looks great! We’ll be trying it this year when we learn about the respiratory system in our homeschool! Thanks for sharing!
I’m making this for a science project and I hope that I do it right!How clever!It must have taken a while to think of that.GREAT IDEA!
It is so nise but we have two lungs.but you have shown only one.
Great demonstration, I just wanted to correct the following statement:
“This demonstrates how our lungs work. Air is taken in through the mouth and nose, passes down the windpipe and into our lungs. The diaphragm at the bottom of our chest moves down dot create more space.”
The diaphragm is the muscle that makes breathing happen. As it contracts and spreads flat in the abdomen, it creates a vacuum that draws air into the body. This model demonstrates how a vacuum works.
This is so great. I teach flute and was looking for some kind of demo – this is perfect – if I can get mine to work as well as yours does 🙂
Awesome experiment! Did it with my school and didn’t understand the science bit…l thank you!!
Suggestions: Instead of using a balloon as the lung, you can cut off the fingers of a doctors glove and Sellotape it to a y tube. It’s much more accurate
It can be difficult to find plastic bottles that hold up to having a balloon stretched across the bottom. They all seem too thin. Can anyone suggest brands?
I’ve redone this recently and used a diet coke bottle, but I did reinforce it with some masking tape.
Use a strong plastic clear cup with a lip at the bottom. The balloon fits nicely over it.
it is very easy to understand how they have discribe their eperiment i thank science aparks for this
awesome!!
This s a great experiment, we did it with 10 year olds and really got them thinking – easy and clear – thanks for the clear instructions 🙂
Just in case you want to know – few spelilng errors noticed – of not off and ballon and bow not blow.. x
This looks like an absolutely perfect model for some school activities. I’ll definitely use it with my kids.
Must have a strong 2 liter bottle. Many are too bendable
This project is so cool I’m doing one for my project
Wow! Thank you for sharing such a great activity! I’ll share it on my facebook page.